
Installation space planning · EU
Make a toilet measurement sheet that includes opening and removal
Measure the closed footprint, lid movement, container removal and access route before committing a van, boat or cabin layout.
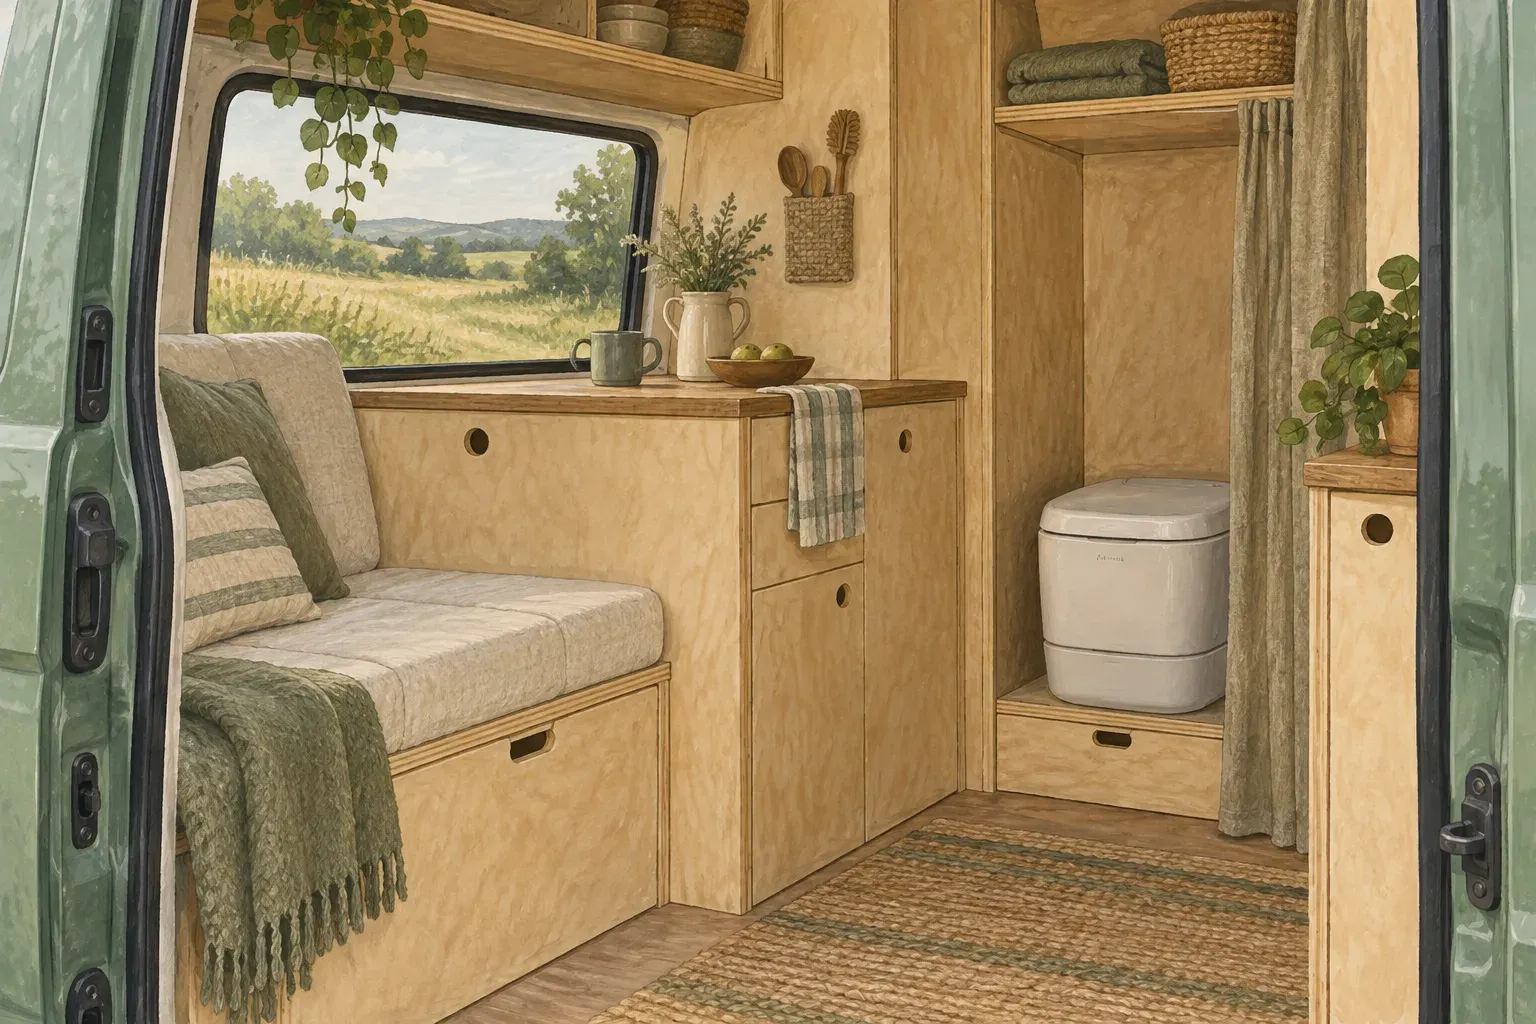
Before committing a toilet layout, measure three things: the space it occupies when closed, the space needed to open and service it, and the route its removable parts must travel. A footprint that fits on the floor is only the first check.
Start with the Campervan toilet space planner, then make a separate measurement sheet for movement and access. The same method can help with a boat or cabin layout, provided you use the exact toilet model’s documentation and measure the actual space.
Put the model at the top of the sheet
Record the manufacturer, model, variant and document date before entering dimensions. Add the source link beside each manufacturer measurement. This gives you something to revisit if the proposed model changes.
Nature’s Head explicitly separates its models in its support centre and directs owners to the appropriate manual before drilling openings. Its current product comparison also gives different widths for different handle arrangements. A measurement copied from another variant could therefore change the fit decision. Nature’s Head manuals and installation guides, Nature’s Head model dimensions.
Use millimetres throughout your working sheet, preserving the original units beside any conversion. Mark every entry as manufacturer-specified, measured on site, or still unconfirmed. An empty clearance field should stay visibly unresolved; do not turn it into zero simply to finish the drawing.
Measure the available space at several heights
Choose a fixed reference, such as the finished rear wall and finished floor. Measure the available width, depth and height from those references. Record protrusions individually: skirting, cabinet handles, wheel-arch boxing and a sloping wall can occupy different parts of the proposed space.
Take measurements at the base, seat and opening heights. For a layout that has not yet been built, distinguish the current shell dimensions from the proposed finished dimensions. Put wall lining and floor build-up on the sheet rather than relying on memory.
Use the planner for the initial spatial comparison. Then draw a plan view and side view with the same reference points. Keep the toilet outline and surrounding furniture on both drawings so that a change to a cabinet is carried through consistently.
Draw opening and servicing as separate movements
Add a second outline showing the lid or upper assembly in its required open position. Record the greatest height reached, any rearward movement and the space needed to reach the relevant catches or handles. Follow the model’s instructions for what opens and what is removed; do not assume every separating toilet has the same sequence.
A concrete example of a service requirement appears in Nature’s Head’s model comparison: it lists 2 inches of rear clearance for bowl removal. That converts to 50.8 mm. It is a model-specific rear clearance, not a complete allowance for lid opening, seated use or the surrounding compartment. Nature’s Head model dimensions.
Next, identify each removable item from the exact manual. Sketch its movement out of the toilet and into the aisle. Show where it can be held and turned. If the movement or component dimensions are absent from the documentation, mark them for confirmation before buying or fixing the layout.
The aim is to answer a sequence of practical questions: can you open the assembly, reach the release, lift the component, turn it and move it away? A clear rectangle directly in front of the toilet does not answer all five.
Trace the route beyond the compartment
Continue the removal sketch through the nearest doorway and any turn in the route. Measure the usable opening with the door in the position you will actually use. Include projecting handles and fixed furniture rather than recording only the nominal door width.
Make lightweight cardboard mock-ups of the proposed toilet envelope and removable components using confirmed dimensions. Rehearse the movement with these empty mock-ups. This is a layout check; it does not establish the suitability of the toilet or replace its operating instructions.
Also reserve access to relevant connections and service points. For example, Separett’s Tiny with urine container has manufacturer placement guidance, an installation template and model documentation, and requires a ventilation route. Put the connection location and access space on the drawing, leaving installation details to the exact instructions. Separett Tiny placement and installation guidance.
Our ventilation planning guide helps organise that separate part of the project. Any shared space between a duct, an opening assembly and a removal route deserves a closer check.
A hypothetical fit that fails the next check
Imagine a fictional compartment with 520 mm of clear depth. A proposed toilet has a confirmed closed depth of 480 mm. Subtracting gives 40 mm behind it when its front is placed at the compartment boundary.
Suppose this fictional model’s own documentation requires 55 mm behind it for servicing. The layout is 15 mm short: 55 minus 40. Its closed footprint fits, but the documented service allowance does not.
Now suppose the planned removable component is 300 mm wide and the clear doorway is 330 mm wide. The straight width comparison leaves 30 mm overall, or 15 mm on each side if centred. That arithmetic does not confirm that hands, a handle or a turn will fit. The removal rehearsal remains an unresolved check.
These are invented dimensions for an example, not specifications for Nature’s Head, Separett or another product. The useful decision is to revise the compartment or choose another candidate before treating the layout as settled.
Finish with a usable decision record
Give the sheet four outcomes: closed fit, opening fit, component removal and connection access. For each, write confirmed, failed or unresolved, with the measurement or document that explains the result.
Check seated access with the intended users using the mock-up, and record their observations separately from manufacturer clearances. This avoids presenting a personal comfort allowance as a universal requirement.
Carry the unresolved items into the installation checklist builder. If the layout still fails, return to the use-case chooser guide with the failed measurement in hand. A useful measurement sheet lets you explain exactly what must change, before a promising footprint becomes an awkward finished installation.
Continue planning
Related guides
Portable toilet comparison
Best portable composting toilet for a campervan: keep the trip simple
Capacity planning
Waterless toilet capacity: estimate a realistic emptying interval
Campervan toilet service access